Emergency lighting can be a critical part of ensuring the safety of your employees, customers, and property. However, like any other piece of equipment, it can eventually wear down or become outdated. When this happens, it can also become a safety hazard.
Emergency lighting inspections are essential for a variety of reasons. Not only do they ensure that your facility is complying with all local, state, and federal regulations, but they can also help to detect problems early. In this article, you will get insights into when it is time for an emergency lighting inspection and how you can ensure that your facility complies.
What is an Emergency Lighting Inspection?
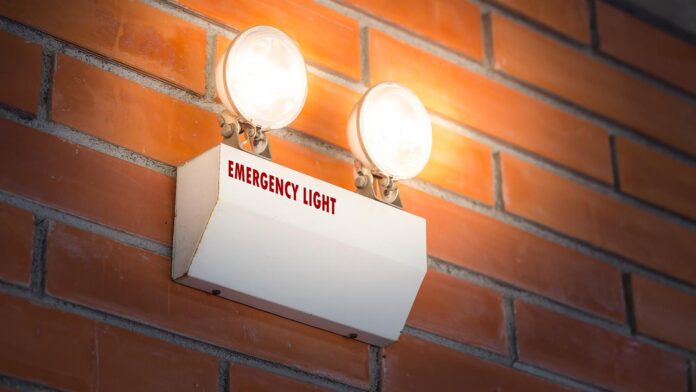
An emergency lighting inspection is a safety check of your emergency lighting system. It is a useful tool, but if it fails, it can be a major inconvenience. This is typically performed every month, but it can be done more often if there are any signs of trouble. It is significant in any building, but it’s especially required in places such as hospitals and schools.
It can help people in these places find their way in the dark, and can also help to protect people from accidents. You might want to make sure that it’s working properly. If it’s not, you may need to get it repaired before any mishaps occur.
If you are looking for EET (Electrical Equipment Testing) in your workspace or residence, head on to this website for Emergency Light Testing and much more with the help of certified professionals.
An emergency lighting inspection should be done if you notice any of the following:
- Flickering or sputtering lights
- Weak or no light
- Lights that seem too bright
- Lights that don’t turn off when the switch is turned off
- Lights that stay on even when the power is turned off
If any of these signs are present, it’s time for an emergency lighting inspection. A service technician can come out and check your system and make any repairs or changes that are required. As with any inspection, it’s essential to take the time to look at each area and make a list of any abnormalities or potential problems.
Steps To Repair Emergency Lighting
1. Check the Fuses
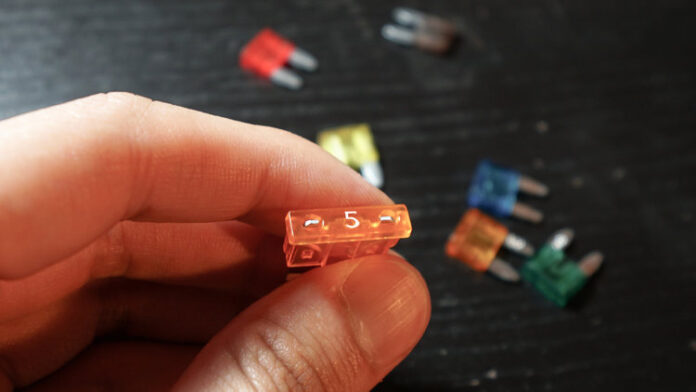
Emergency lighting requires fuses to operate properly, so it’s essential to check your fuses before you try anything else. If it’s working, but the fuses are blown, it may be a sign that the emergency lighting system needs to be replaced.
You should be able to find these fuses in the fuse box located under the hood of your car. If you can’t find them there, they may be inside the battery compartment. To check if a fuse is blown, touch the end of it with your finger, and if it is hot or burns then that indicates that it has blown.
2. Check the Light Bulbs
If your emergency lights are still not functioning properly after checking for bad fuses and making sure that all of your bulbs are properly installed. If it’s working, but the light bulbs are blown, it may be a sign that the light bulbs need to be replaced.
But, if your emergency lighting system provides insufficient light, the problem may not be arising from the bulb, and you will have to replace the entire system. However, if it still does not provide adequate light, the issue may be with the wiring or the switch. In this case, you would need to make the necessary repairs or updates.
3. Check the Wiring
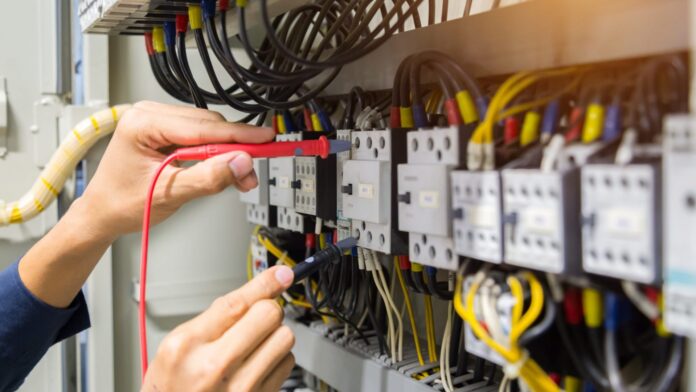
The next step in repairing emergency lighting is to check the wiring and make sure that it’s not damaged. If the wiring is damaged, it may be a sign you may need to replace some light bulbs and wires that are currently in place.
Make sure you know where the power source is and how to get to it. If you are using an extension cord on your emergency lights, make sure that it has enough length so that it doesn’t cause any tripping hazards when you are working on the socket itself.
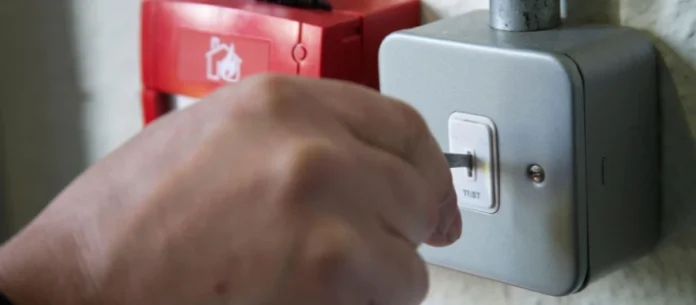
4. Check the Switch
If your emergency lights are still not working, you may need to replace or repair their switches as well. This can be done by removing the cover plate on top of an existing switch, unscrewing each screw on top of your switch, and lifting slightly until they pop out of position.
Then use a small flat-head screwdriver to remove the cover from underneath and examine the contacts inside. If they are dirty or corroded, clean them thoroughly before turning off the power by flipping switches one at a time until all three lights go off simultaneously.
5. Check the Emergency Lighting System
After the emergency lighting inspection, it’s time to start planning your next steps. Based on the findings of the inspection, you may need to make some repairs or updates to your system. If it’s still not working, and there are no signs of damage, it may be a sign that the emergency lighting system needs to be replaced.
It’s essential to review the inspection report to see if any of the listed problems were caused by the emergency. Once you know the cause of the problem, you can begin to make the necessary repairs or updates.
The Bottom-line
Many homeowners believe that an emergency lighting inspection is only necessary when there is a power outage or when there is a problem with the lights themselves. However, there are other times when an inspection is warranted, even if there are no problems with the lights themselves.
It is crucial to maintain and regularly inspect emergency lighting systems to ensure that they can provide illumination in the event of an emergency. By following the appropriate safety standards and guidelines, building owners and managers can help to ensure the safety of their occupants in the event of a power failure or other situations.


