
The new macOS version, Big Sur, saw the light of day on November 12. Lots of Mac lovers out there are happy with the event and eager to take the novel OS for a spin. Probably, you, too, are ready to move on to the most recent software. Read our article to find out what steps it involves.
What to consider before making the big step?
First off, your machine needs to meet some basic requirements on compatibility with the recent OS X. Install it with peace of mind only if it is compliant with both of them. For one, provide 30GB of available memory: the more memory – the better. Ran a check and found out your Mac lacks space for such a sizable file (which Big Sur is)? This post has some actionable suggestions on how you can fix them.
Second, see whether your machine supports the new macOS software since not all of them (even ones that run on Catalina) are compatible.

Which devices match Big Sur perfectly?
The new OS goes hand in hand with the next machines:
- Year 2015 MacBook
- Year 2013 MacBook Air
- End of 2013 MacBook Pro
- 2014 iMac
- 2017 iMac Pro
- 2014 Mac mini
- 2013 Mac Pro
Unfortunately, the following devices aren’t recommended for an upgrade:
- MacBook Pro of 2012 and beginning of 2013
- 2012 MacBook Air
- 2012 and 2013 iMac
- 2012 Mac mini
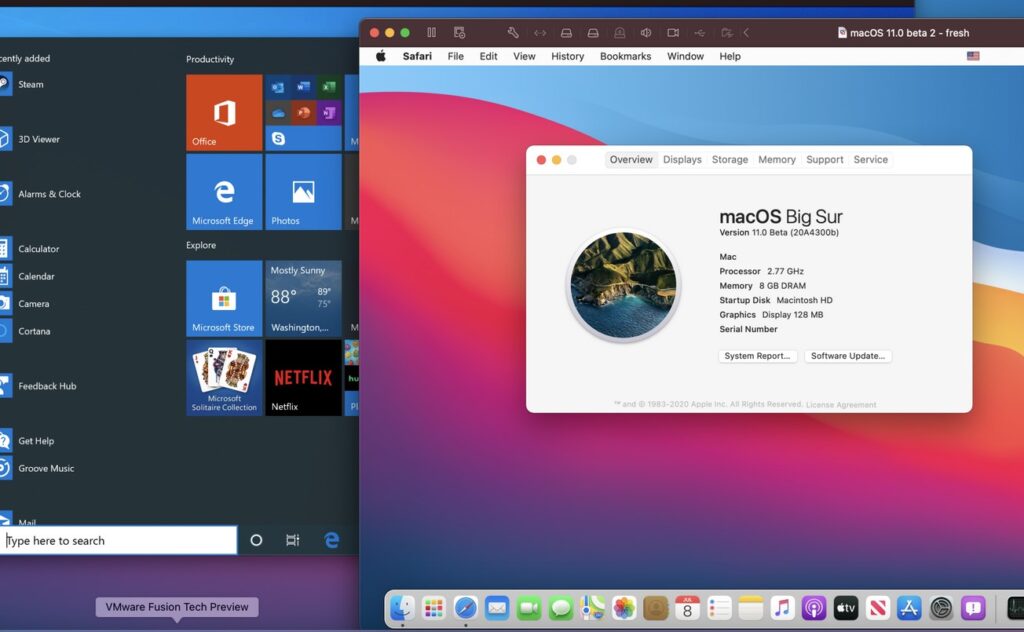
Unsure which Mac you own and the date of its release? You can check it in About this Mac after opening the Menu. Does your machine meet these requirements? If so, let’s move on.
Pre-upgrade preparations
Now, let’s make sure your machine is all set for the big step. Preparation is vital because if something (hypothetically) derails the upgrade, your data remains safe. Pre-upgrade measures will also let you revert safely if the new version fails to meet your expectations.
So, how can you go about it? For one, you can use Time Machine with an external hard drive, for example, a USB stick. This method will save an exact copy of your previous OS’s data. After plugging in a drive, go through the next steps:
- Bring up Time Machine from Menu Bar
- Select Backup Now
- Finish the backup
Done? Then, time to go ahead and launch the file containing the upgrade.
But first: What upgrade method should you choose?
You can use several ways, as recommended by Apple. One is a clean installation, a method that “writes” new OS’s files to replace an existing macOS software version. Worry about your data safety? Don’t. A clean installation isn’t going to affect it. Mind though, the system data (including Apple’s native apps) will undergo alteration.
The second way is to opt in for Migration Assistant. It is an application created specifically to transfer data from an existing device to a new one safely. At the same time, this app can be used as a means for upgrading.
Going with Migration Assistant requires a couple of drives. The first will contain an upgrade file. You will use the second one for a backup. After you’re through preparing both of them, follow the next steps:
- Press and hold down Option while booting up
- Choose your copied drive for a startup one
- Go to Disk Utility from Applications/Utilities
- Launch it
- Wipe the drive
- Get the installer file
- Hit Launch
- Choose the newly cleaned drive
- Install OS
- Complete the process
That’s it! Expect the new version to arrive soon. If you did everything correctly, say ‘hello’ to a new OS version on your machine. Ready to use it? Your data is waiting on your external drive. Just copy it to your machine.
Clean installation requires patience, but it will free up your machine from unnecessary files. Importantly, hold on to both drives (ones where you keep all cloned files) for several weeks or maybe months. In case you forgot anything, you can go there and copy an important file or app.
Get macOS Big Sur
Before you go ahead with the installation, charge your laptop or plug it in. A dying battery amid the installation can be a terrible mistake. The new OS software takes some time to install, so grab a coffee and forget about your device during this time.
Ready for the big step? Just like with your regular apps, fetch the installer for Big Sur in the App Store. You should know that it’s a sizable file, so arm yourself with patience as it takes some time to download. After it’s done, it will launch, and on-screen instructions will ensue. Read and follow them precisely.
Mind that once the software lands your device, you won’t be able to find the installer unless you save it. Thus, it’s a wise move to take care of its copy beforehand. Look for the file with a relevant name in the Applications section. Just copy it to an external USB or hard drive. It’s essential because if something impedes the installation, the file will quickly send you to the very beginning.
So, there you go – an installer, sitting on your flash stick. It will save you from the headache of downloading the key file whenever you need to carry out installation again.
All done with the installation? Great! The hardest part is over. It may pop up asking to confirm your credentials for your favorite applications. Some of them might be deemed as Incompatible. That will be signaled via a notification message for such applications. Find them in the relevant folder on your Mac’s drive.

Faced a problem while upgrading?
Sometimes installing the new OS software doesn’t go smoothly. Don’t quit, though. Use the bootable copy to go over the process one more time. If worst comes to worst, reverting to the clean installation steps will serve as a proven recipe. And even if you are already running Big Sur and enjoying it, hold on to your backup drives for at least a month. Some issues tend to resurface after a while.
Good luck with the installation. We hope you’ll enjoy your upgraded Mac!


