
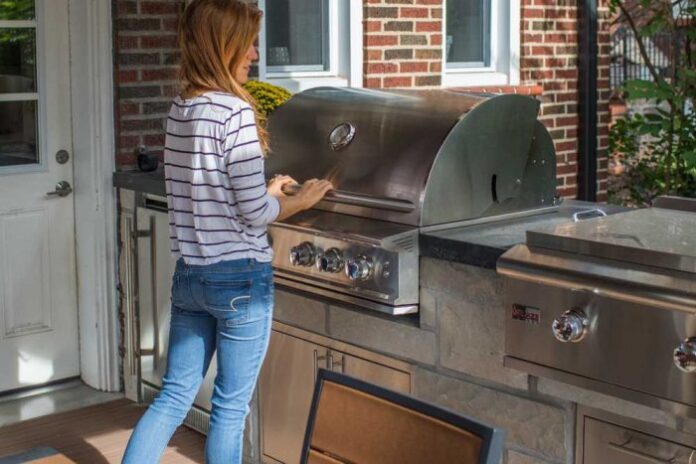
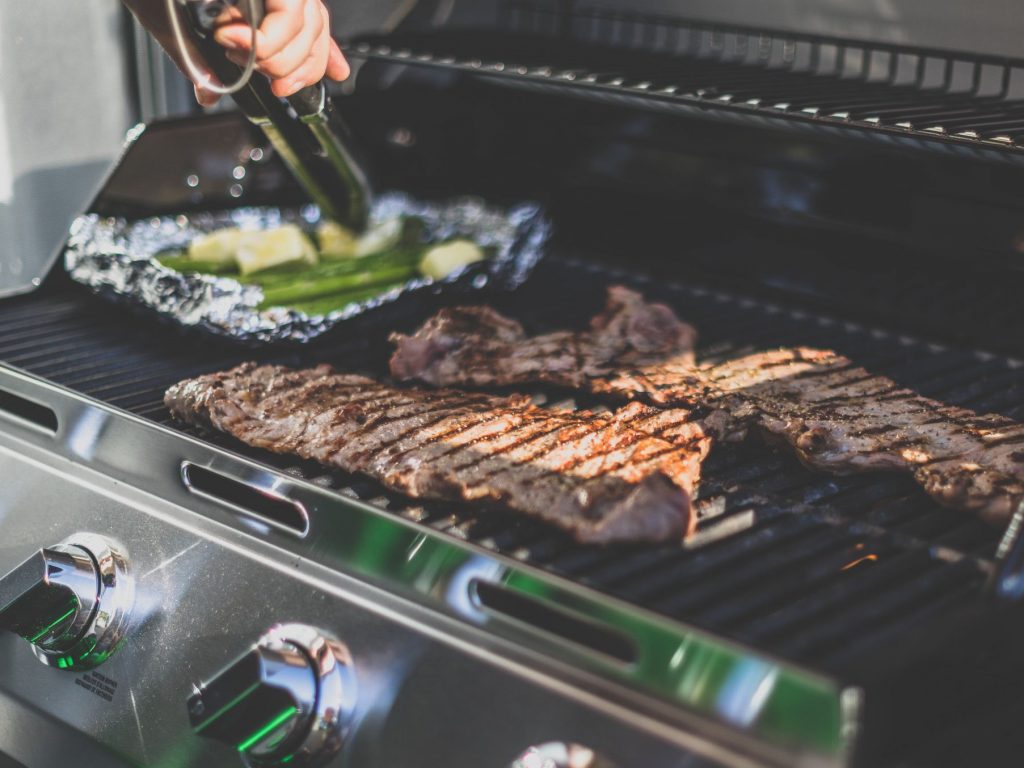
Grills are sure thrills and king during the summers. During warm weather, it’s the ideal time to lit up the grill and create some lip-smacking family cookout. Grills are considerably a big investment. After the part is over and you’re no longer using the grill, it’s a great idea to cover and protect it from the elements.
- Fabric selection needs to be on point. It needs to match your furniture covers and the patios or deck’s surroundings.
- When you choose a fabric, select a breathable, water-resistant fabric. Breathability impedes moisture beneath the cover, which leads to mildew and mold growth.
- There are Surefoot fabric or marine-grade covers that are great options.
- The basic highlights include patterning and measuring, cutting fabric panels, sewing lid sides, sewing table panels and ends, fitting cover, and finishing bottom edge, and materials list.
- The list of materials includes Durable Skrim as patterning material, outdoor cover fabric, V-69 polyester thread, spur grommets, seamstick, basting tape for a perfect canvas, and a shock bungee cord.
- Some of the most important materials are deluxe sewing guide, advanced die and block holder, edge hot knife, and die set.
- You may also need a hole cutter and deluxe magnetic tools.
Instructions for the cold weather
In the wake of winter months, your grill won’t be in extensive use. If you don’t have a proper place except the verandah to store the equipment, you can make strong grill covers yourself or simply visit Coversandall.com.
- One of the best options is oilcloth. You can find it in an impressive and wide array of colors and patterns to make a pretty little side or hideaway for the cherished grill.
- It’s important to measure the depth, width, and height of your grill. You don’t need to take exact measurements.
- Most grills are 10 inches deep, 42 inches high, and 32 inches wide.
- You need three fabric pieces. They are dual side pieces and a body piece. The body piece must be long enough to accommodate the grill.
- So, considering the above measurements, you can cut your oilcloth as 32” wide and 84” long.
- Put the main body frame down on the right. Place it on the grill, helping it to drape down on the back and front.
- You need to pin each side piece to the concerned body piece. You can get better results if you keep the pins in a straight line.
- After pinning two pieces together, if you discover excess fabric, just cut it off before proceeding to the next step.
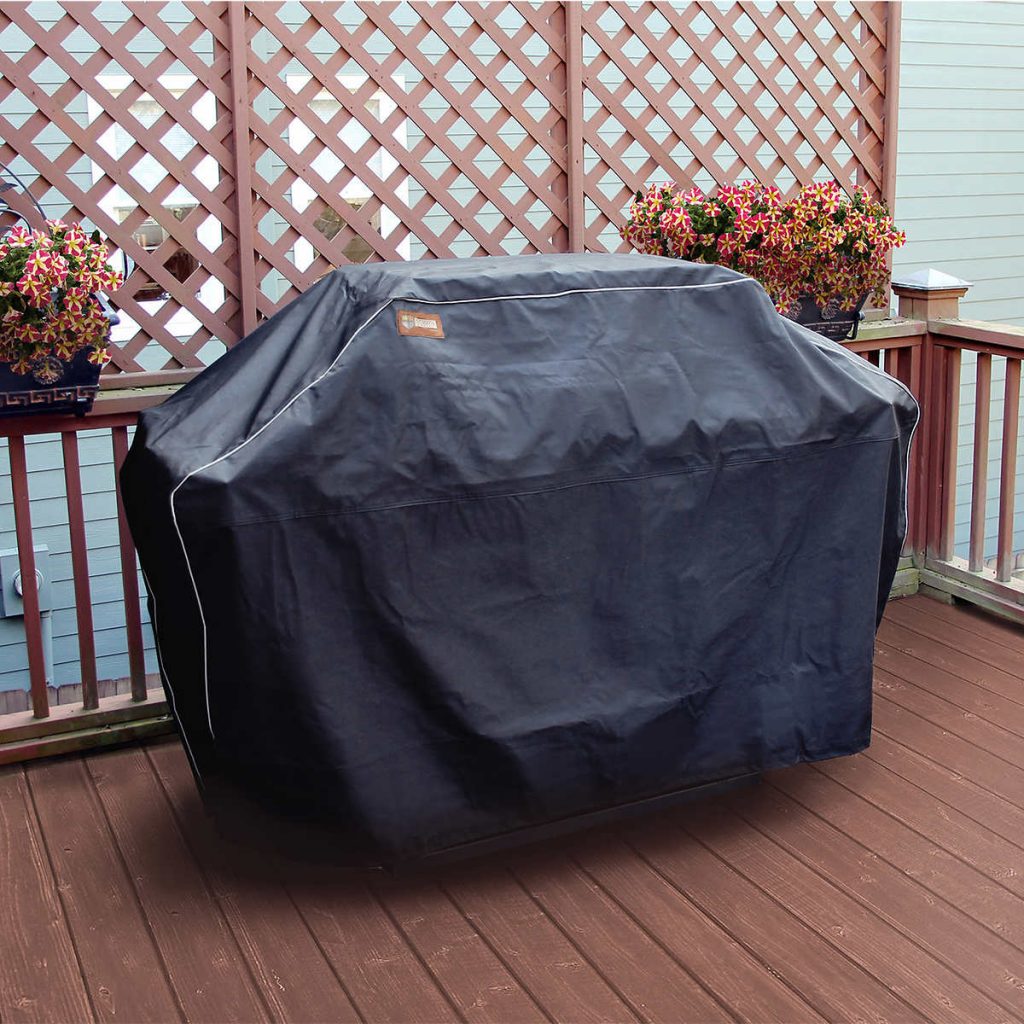
The prefabricated covers
Prefabricated and commercial grill covers can be mindlessly expensive. You need proper covers to shield your grilling tool from rough weather.
- If you know how to handle a sewing machine, it’s easy to make a great grill cover from a generous and strong coating of deluxe waterproofing spray and canvas fabric.
- You can find these tools at craft stores and hardware stores. With your DIY grill cover in order and place, you can maintain the grill in its best groove.
- After pinning or taping the grill, it’s time to cover the canvas patterns. Cut along the edges of the pattern with good scissors.
- Make sure you set every piece individually on the work surface.
- After cutting the pieces, hold each edge together, before pinning them in one place. It makes a prototype of the final product. Just sip the cover over the grill and ensure a proper fitting.
- Install your sewing machine with a needle that has a high-gauge. It helps in sewing the pieces together. As you work your way through the sides, remove the pins.
- After cutting the thread, you can flip the cover and repeat the concerned process on either side.
The final steps
It’s crucial to transfer the main outline to cover fabric. You can use a tarp in most cases, though you can also choose a different type of cloth for the same purpose. The most crucial thing is that it can shield your grill.
Resultantly, you can choose something that’s water-resistant and protects the tool from dust and debris. To transfer the fabric outline to the grill tarp, you need to depend on the specific measurements that you’ve already made.
- In the process of doing so, you need to leave an additional fabric inch as it helps in creating a hem. A butcher paper can come in handy to help you match the grill’s shape.
- After finishing the outline, it’s time to cut it out. The job will be easier if it’s a flat surface.
- Depending on the shape and size of your grill, you can perform the task in two halves for better management.
- After cutting the cover, it’s pivotal to sew the hems. It ensures a complete finish. If you make it in numerous parts, you need to sew both the sides.
- For those who don’t have a sewing machine, you can use the duct tape for finishing the grill cover.
The final step is to attach the cover to the machine. The best way to do so is to use a bungee cord or ties, which you have already read above. It works for most people because attaching the stuff without ropes could be a little dicey.
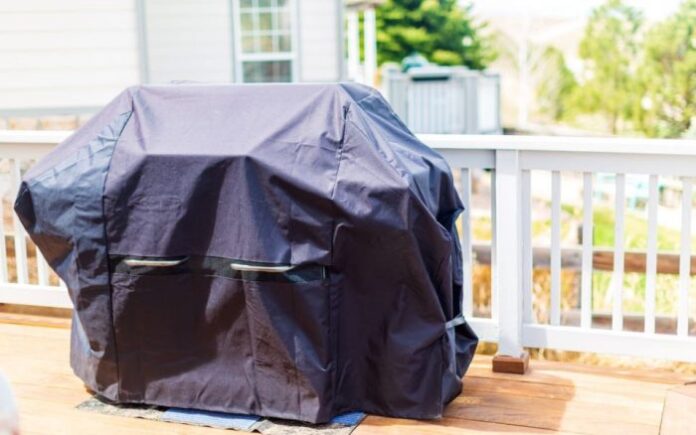
Maintain your barbecue grill
There’s no denying that your BBQ grill can be an exceptional equipment for outdoor cooking and partying. Since you usually keep it outside, grills are vulnerable to fatigue and depletion from elements.
If you keep the grill outside for a long time, regardless of stainless steel or wood, it’s still susceptible to rust and debris. You can scour off the rust from the stainless steel. You need to know that the best solution to protect your barbeque grill is to extensively use a grill cover.
Making a pattern is very important. As you create the design and put it on paper, you need to enhance the size by just one inch. The seam will make all the difference. If you are uncomfortable with taking measurements, you can use the BBQ as a template.


