
One of the most amazing things about webcam video conferencing is that it gives us a chance to connect with our friends, colleagues, and family across the globe. However, various webcams offer different video quality, and that’s you want a webcam that’s capable of doing high-quality video conferencing or even live-streaming a gaming session. This article will teach you how to use a camera as a webcam using the premium USB video conferencing gears. Use USB streaming kits. USB video conferencing kits are compatible with a wide range of PowerShot cameras, or in simple terms, they are compatible with the most recent camera models available today. All you need is your Personal computer or a Mac connected with your camera through a USB. This depends on your investment in a better quality of the camera.
Setup for a USB kit
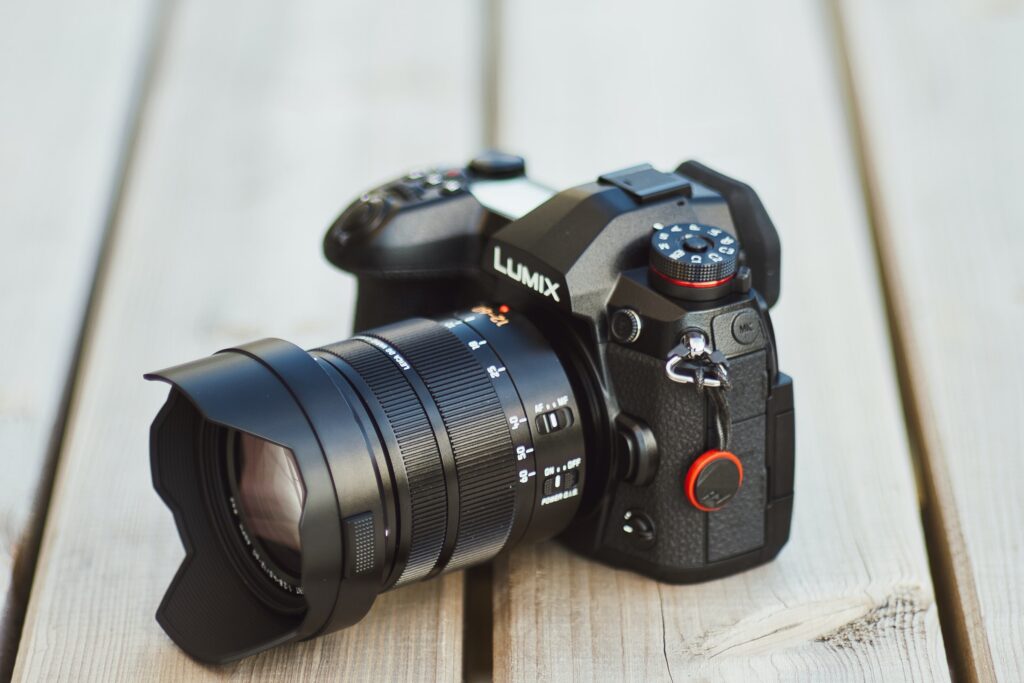
The EOS M6 Mark II, EOS M50, and Power Shot G7 X Mark III plus and their kit accessories are designed to offer higher image quality, clear color resolution, and the ability to adjust the focal length. Suppose you’re a professional business working from home and want to catch up with your colleagues. In that case, converting your PowerShot camera into a webcam for videoconferencing can make your experience outstanding. UVC is a USB Video Class that needs to be supported by a video capture card which will make your webcam enables to operate beside Zoom and Skype.
Here’s how to set up your USB kit systematically
- Start by downloading the EOC webcam utility software into your laptop.
- Once you are done with downloading this software, the next step is to connecting your camera to the main power. Plugin the DC coupler so that you can connect your AC adapter. You can now connect your camera to the mains. Remember, many cameras are designed to run while on mains power adapters so that you don’t need to replace the camera’s battery. These batteries can last for about 100 minutes of power- enough for a meaningful discussion.
- It is time to turn on your camera. Press the power button to turn on your camera.
- Once your camera is on, adjust it into the movie mode and select the auto mode. The purpose of this is to make sure that you have the right exposure while videoconferencing.
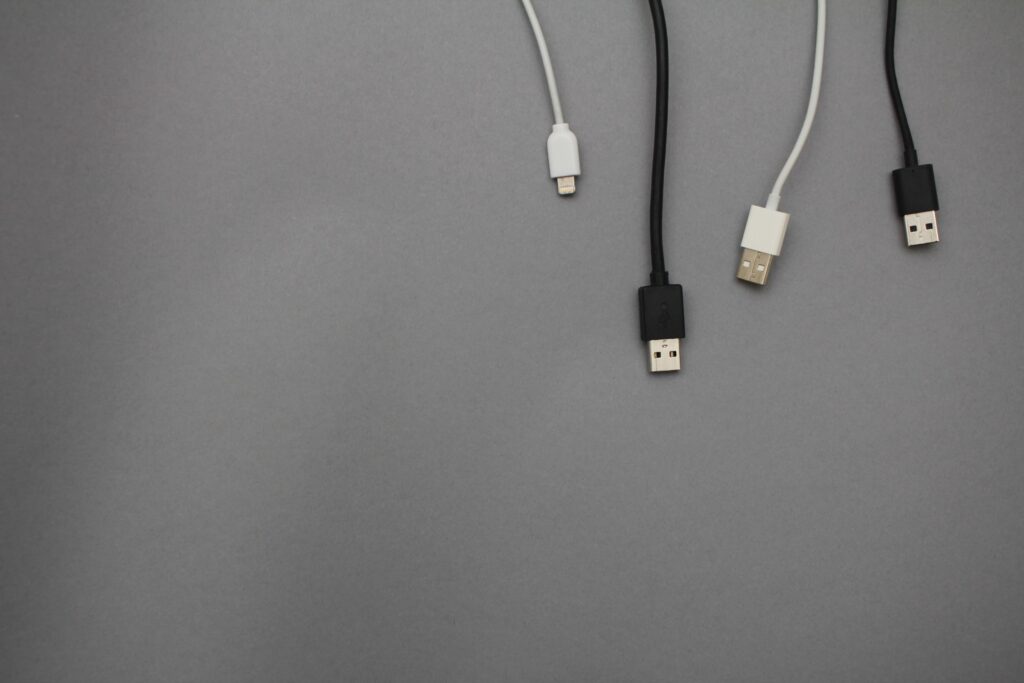
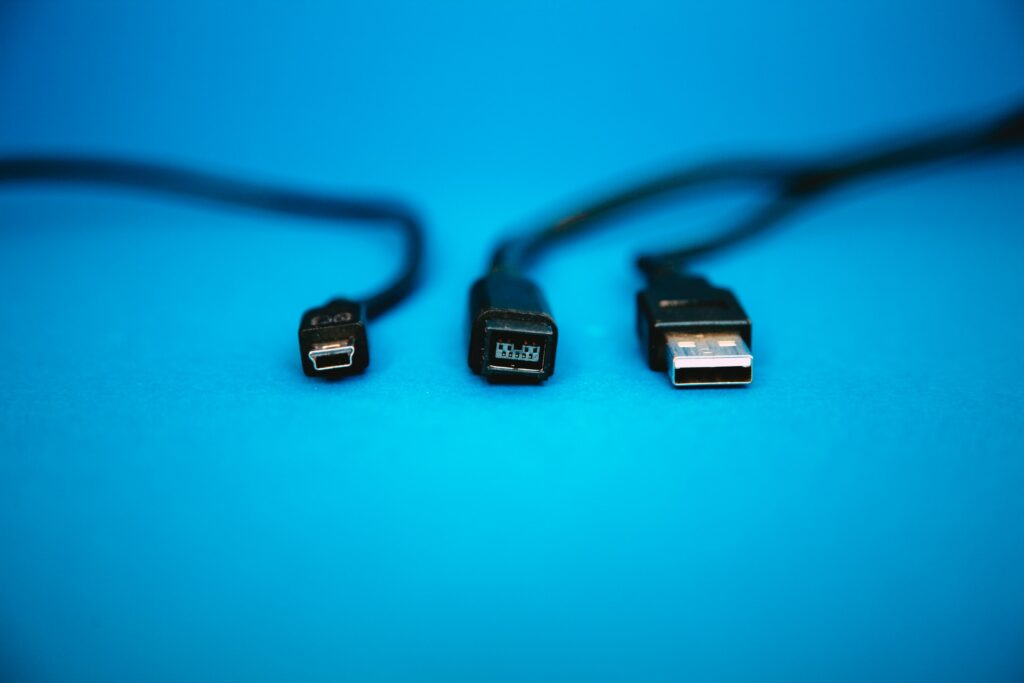
- Connect your camera to your computer. Insert your USB cable into the camera’s USB port and the other end into your computer’s USB port.
- Place your camera on your tripod. Make sure to adjust the angle towards you until you get the best position to capture clear images.
- You’re almost done by now. Open your preferred videoconferencing app, for instance, Skype, Google Meet, etc. Open the video setting and select the EOS webcam utility. You’re now ready to go.
- However, it is important to note that the EOS Webcam Utility doesn’t support the usage of the built-in mic on the camera. Fortunately, you can use your laptop’s microphone or your headsets connected to your laptop for audio communication. It’s time to test your webcam performance. Fortunately, you can you’re your webcam here at devicetests.com to ascertain that your webcam is running smoothly.
How to convert a Digital Camera into a Webcam
Are you aware that many mirrors fewer cameras and digital SLRs released over the last few years are designed to include USB webcam support software so that all you need is to download and install little extra software? Here are the various camera models from different manufacturers and how you can set up a webcam.
As the webcam demand is increasing ghastly but there is a shortage in supply, consumers wish to use their spotless DSLR camera as a webcam. That is why one can enjoy video quality better than the quality of computers. The one thing that can simply be done is to make your computer enable to support those functions.
A number of software has been developed to eradicate this space and make a better way to fix this gap. Now it has become easier to download this software whether to use on a Mac or Windows system. This software can be downloaded for Canon, Nikon, Fujifilm, and on the camera of Sony, this will provide great ease to use as a webcam.
Canon EOS Webcam software
The Canon EOS webcam software is available for both Windows and macOS systems. It works with mirrorless, select SLR, and fixed-lens cameras. It is officially out, and it can support applications in over 40 Canon camera models. However, you may need to install a 64-bit window version or a High Sierra, Catalina, or Mojave if you’re using a macOS system.
All you need to do is to install and run the software on your laptop. Once that’s done, you’re now free to plug in your camera using the USB cable and select the correct source in your video setting. You’ll need to download Firefox or Chrome if you’re running on a Mac.
The SLR and mirrorless camera models have the most supported features. Otherwise, the old PowerShot Elph models won’t help in this case. Fortunately, Canon camera manufacturers have done a wonderful job by supporting a few generations of old cameras.
An EOS M6 Mark II includes everything you need to connect your camera to your laptop- a USB cable that keeps your camera powered and an AC adapter.
Now it is easy to shift data from an EOS camera to a computer, all because of EOS Utility. It provided great ease to transfer pictures and videos. It is up to you whether to transfer all pictures in a single transfer or transfer it individually. EOS Utility provides you another utility to use your camera with a remote whether with the help of a USB cable or to connect with Wifi if it is supported by your camera or it can be operated by connecting with a separate Wireless File Transmitter. For the purpose of using an EOS camera, the initial software setup includes EOS Utility.


